Look at the whole sheet
A deckled edge is not necessarily the same as a tear, and a handmade-looking edge does not establish how a print was produced. Read the seller's description and examine the sheet without pulling at its fibers. If the edge is damaged, brittle, or uncertain, ask a professional to assess it before making a mounting plan.
Notice whether the image sits squarely on the paper. An intentionally irregular sheet may have an image that is slightly off center. The frame can align to the image or to the overall sheet, depending on which relationship looks more settled. Use a photograph or a paper stand-in to compare those options without repeatedly handling the original.
Give the edge enough background
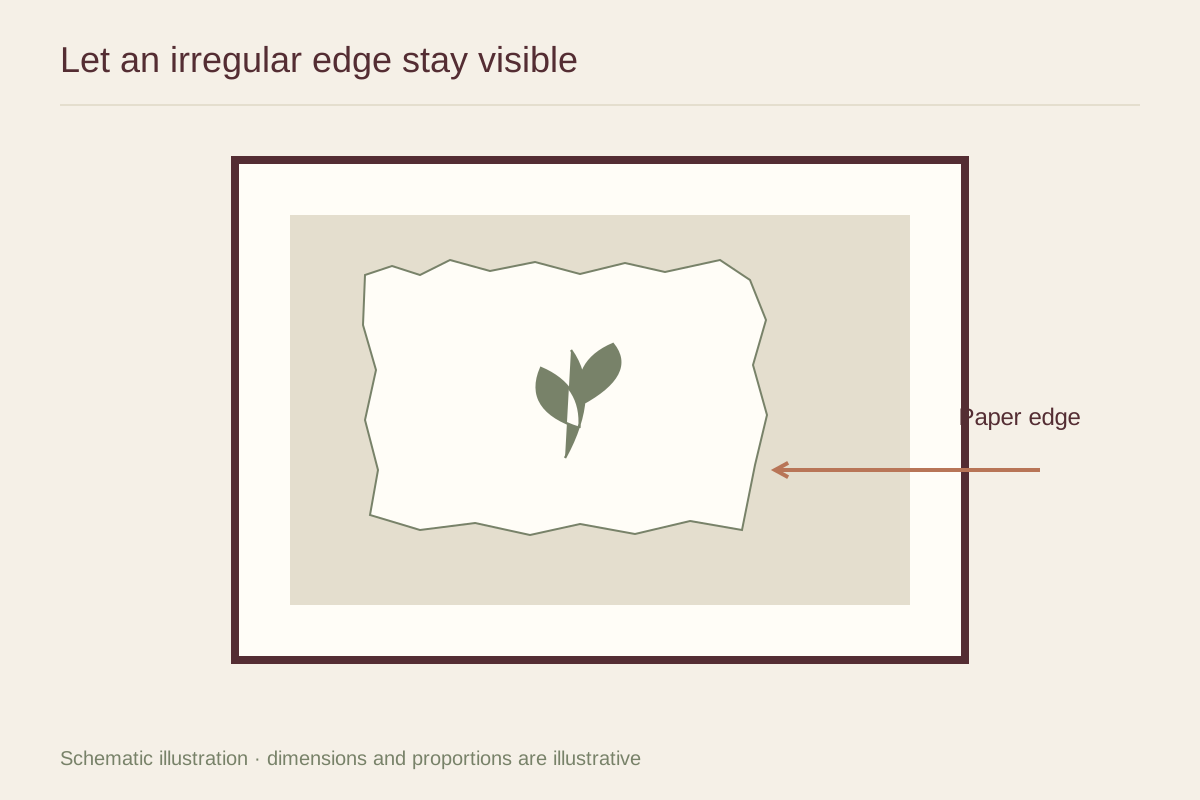
A whole-sheet float presentation places the paper against a backing with a visible margin around it. The background should reveal the edge clearly without overpowering it. A white sheet on a closely related white backing gives a subtle effect; a slightly darker backing makes the irregular outline more obvious.
Test the space around the longest points of the sheet, not only its average width. If one corner nearly touches the frame while the others have breathing room, the irregularity may look like a fitting error. The gap can vary naturally, but it should not feel squeezed.
Let the mount solve the support problem
Showing every edge changes where supports can be hidden. Ask a framer to propose a mounting method appropriate to the paper, with adequate separation from the glazing. Do not glue the entire reverse to a board merely to obtain the floating appearance in a reference photograph.
For a valuable print, the mounting plan deserves more attention than the exact background shade. Keep the sheet intact and retain the material details. The aim is to make the paper's character visible while supporting it appropriately, not to force a fragile outline into a decorative effect it cannot safely hold.