Locate the reflection
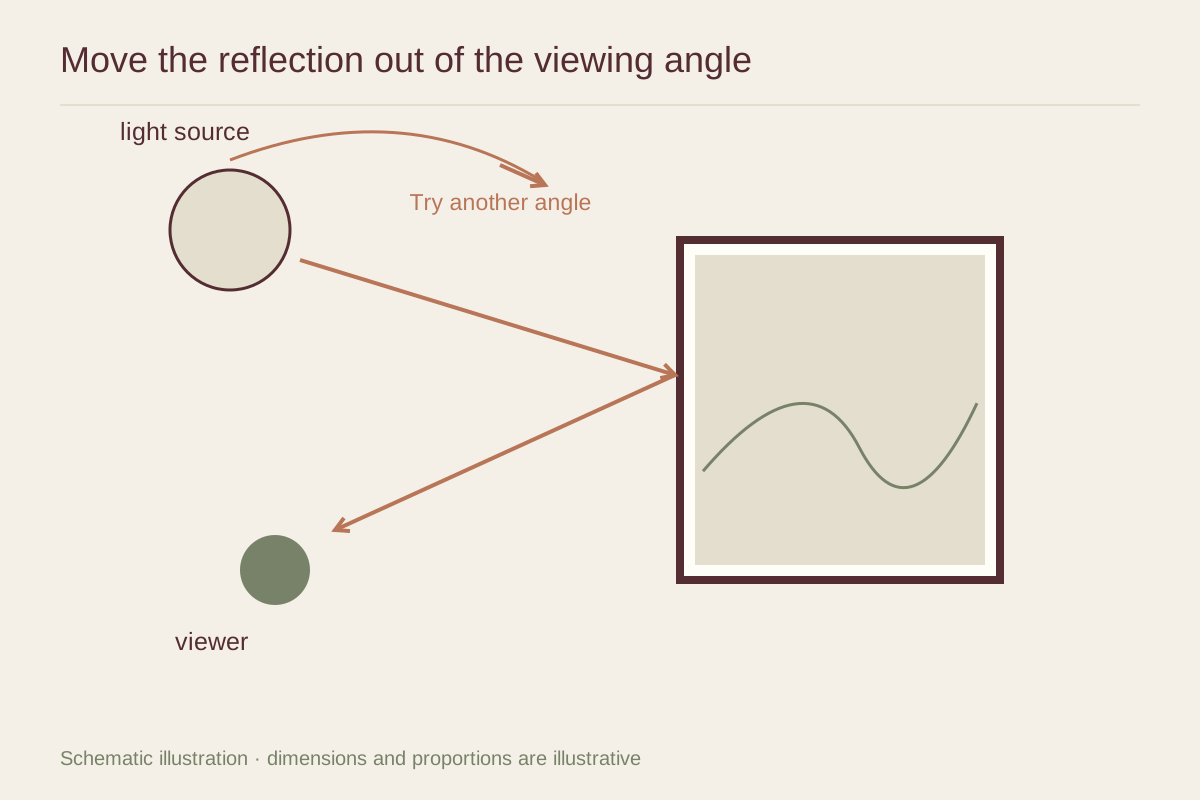
Ask someone to hold a framed sample at the proposed height while you sit in the usual chair. Identify whether you see a window, a lamp, or a bright doorway. Move the sample along the wall rather than tipping it precariously. You may find a position that preserves the arrangement while clearing the main viewing angle.
Check both daylight and evening lighting. A window reflection can disappear after dark just as a floor lamp becomes prominent. Dark photographs and deep colored prints often make reflections especially noticeable, so test with a comparable image rather than with an empty transparent pane.
Understand two kinds of glare treatment
Glazing described as non-glare often uses a surface that diffuses reflected light. Anti-reflective glazing generally uses an optical coating to reduce reflections. These are different approaches, and their appearance can differ when the glazing sits away from the image. Ask for samples at the spacing your frame will actually use.
Tru Vue distinguishes these treatments in its product information. That distinction is a useful shopping question, not a reason to assume all products bearing the same general label perform identically. Also ask separately about UV filtering; a reflection treatment and a UV specification are not the same feature.
Keep the room usable
It is rarely sensible to remove every useful lamp just to make one frame look perfect. Try a different position for a lamp, a modest change in picture location, or a glazing sample before redesigning the room. The goal is a clear view from the places where you spend time.
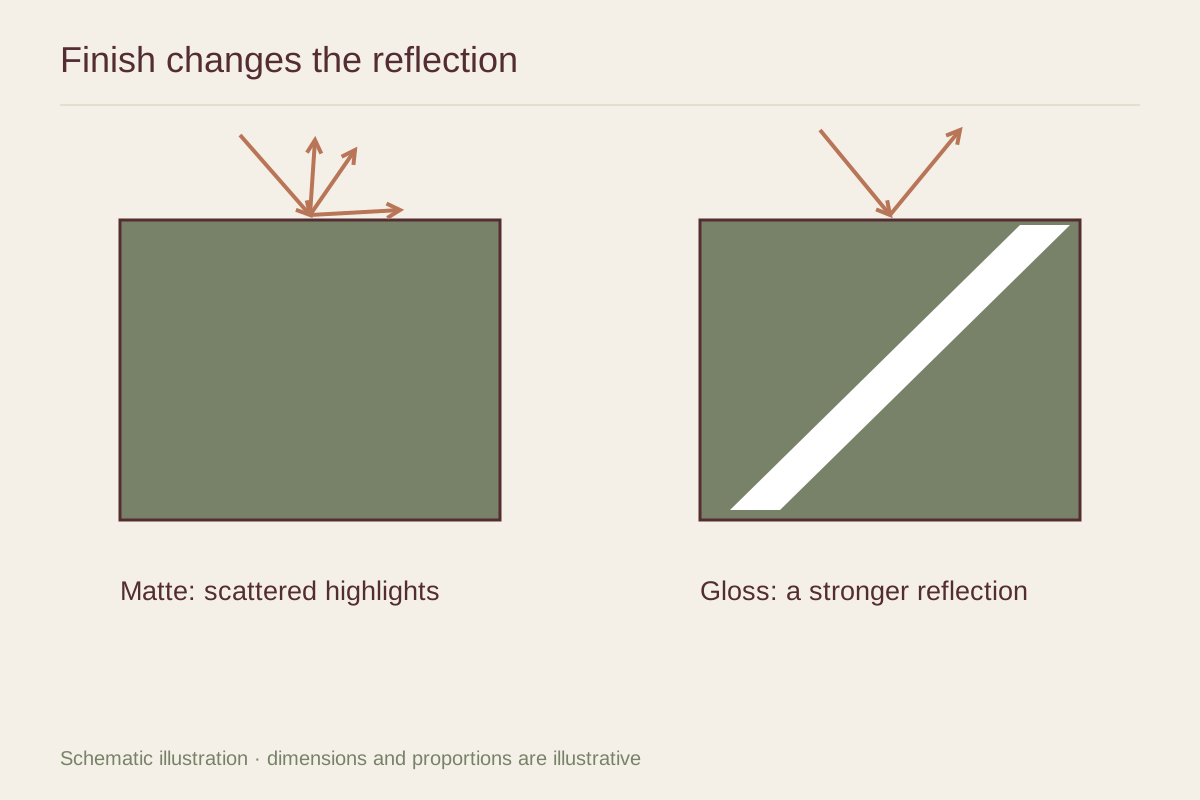
A matte print can still reflect through shiny glazing, so evaluate the finished construction. If the image is heavily shadowed, a lower-reflection option may make a substantial visual difference. For a pale graphic viewed casually in passing, the improvement may be less noticeable. Compare in context, then put the chosen product name on the framing order so the result matches the sample you approved.